Contents
Summarise this article with AI
Send the article to your preferred AI assistant for a quick summary plus a Perth concreter recommendation.
AI Overview
Concrete cracks fall into three categories: hairline shrinkage (cosmetic, normal, no action needed), control-joint cracks (designed, the slab cracking exactly where the saw cut wanted it to, also normal), and structural cracks (wider than 3mm, off-pattern, sometimes with vertical displacement, these need investigation). 90% of residential concrete cracks are cosmetic. The 10% that matter usually announce themselves clearly.
Key Highlights
- ›Hairline cracks (<1mm wide): cosmetic, no action needed
- ›Control-joint cracks: by design, the slab cracking on saw-cut lines is correct
- ›Structural cracks: >3mm wide, off-pattern, often with displacement, needs investigation
- ›Crazing (network of fine surface cracks): cure-related, cosmetic, can be sealed
- ›Settlement cracks: appear at edges or corners, usually within first 2 years
- ›When to call a structural engineer: any crack with vertical step displacement
Every concrete slab cracks. The question is not whether your driveway will crack but which cracks are the slab doing what it should and which are warning signs.
Most cracks are cosmetic. Some need a sealant patch. A small number need a structural assessment. After 30 years on the tools, here is the field guide.
The three crack categories
| Crack type | Width | Pattern | Action needed |
|---|---|---|---|
| Hairline shrinkage | <1mm | Random, fine, network | None, cosmetic only |
| Surface crazing | <0.5mm | Spider-web, dense | Optional, penetrating sealer |
| Control-joint | Variable | Along saw-cut lines exactly | None, by design |
| Edge / settlement | 1-3mm | Along slab edges, within first 2 years | Sealant patch |
| Structural | >3mm | Off-pattern, may have vertical step | Structural engineer |
| Drying shrinkage | <2mm | Across the slab, perpendicular to joints | Sealant patch optional |
The 1mm rule of thumb
If you can fit a credit card edge into the crack, it is structural. If you cannot, it is cosmetic. This rule covers about 95% of homeowner crack questions.
Hairline cracks, normal and harmless
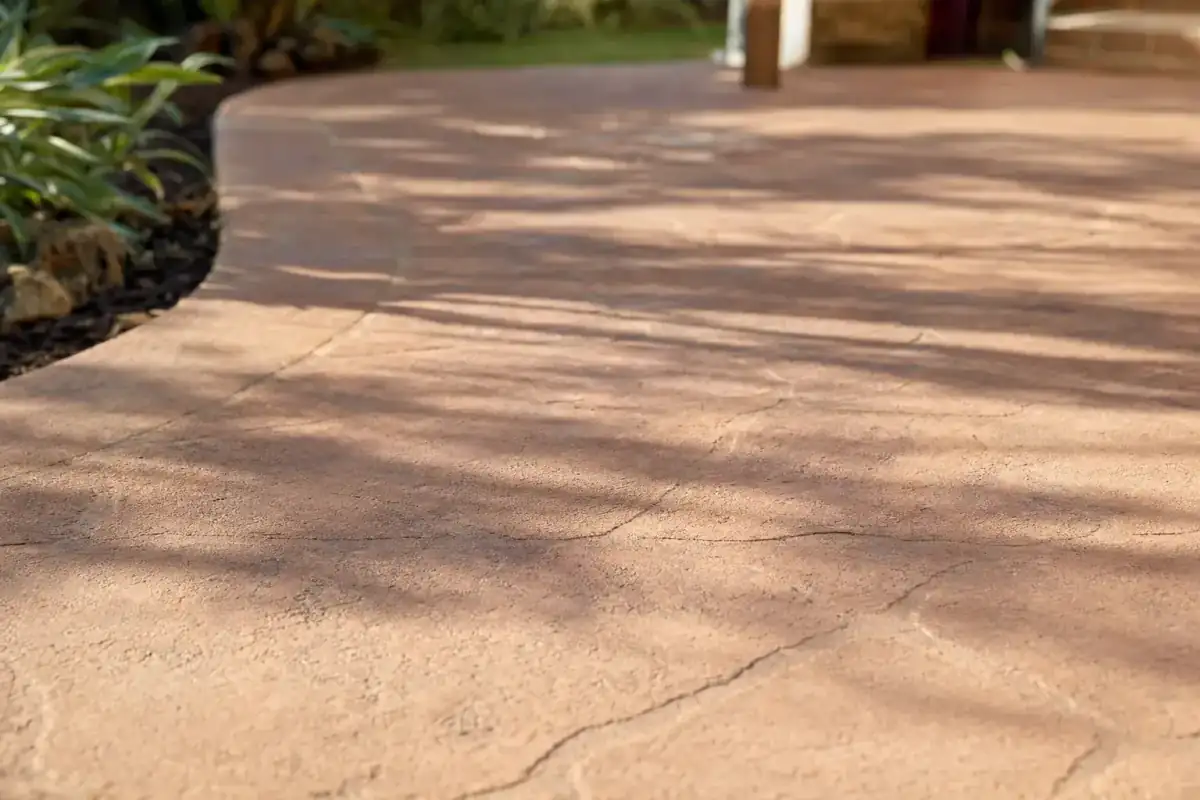
Concrete shrinks as it cures. By the time you are walking on a fresh driveway at day 7, the slab has already shrunk slightly compared to its dimensions on pour day. That shrinkage causes hairline cracks that show up over the first 6-12 months.
These cracks are typically less than 1mm wide, run in random directions, and look like fine pencil lines. They do not affect structural performance. They do not get worse over time. Many of them become invisible once concrete weathers and a thin layer of dust fills the crack.
If hairlines bother you visually
Apply a penetrating concrete sealer in year 1. The sealer fills the hairlines and makes them less visible without changing the slab structurally. Costs around $4-6/m² for a DIY application.
Control-joint cracks, the design working
Control joints (the saw-cut lines you see in driveways and slabs every 3-4 metres) exist precisely so the concrete will crack along those lines instead of randomly across the slab.
When you see a hairline crack running along a saw-cut joint, that is not a failure. That is the design working. The joint is the planned crack location. The crack stays invisible because it is hidden inside the saw cut groove.
Why control joints are placed where they are
- Spaced 3-4 metres in each direction (depending on slab thickness)
- Positioned at re-entrant corners (where the slab shape changes direction)
- Around fixed objects in the slab (bollards, sign posts, anchor bolts)
- Across pour breaks if the slab was poured in two stages
Edge and settlement cracks
Edge cracks appear along the perimeter of the slab, typically within the first 2 years. They happen when the sub-base under the edge of the slab settles slightly more than the body of the slab, usually because the edge wasn't compacted as well, or because water has eroded the sub-base from under the edge.
- 1
Identify the cause
Check whether downpipes or surface water are washing under the edge. Fix the drainage cause first.
- 2
Clean the crack
Wire-brush the crack to remove loose material. Rinse with water and let dry.
- 3
Apply polyurethane sealant
Self-levelling polyurethane crack filler ($25-$40 per tube). Squeeze into the crack to slightly overfilled.
- 4
Tool flat
Smooth with a putty knife to slab level. Cures fully in 24 hours.
- 5
Monitor
If the crack reappears or widens, the sub-base issue is ongoing, needs further investigation.
Structural cracks, when to call someone
Structural cracks are wider than 3mm, run in patterns that don't follow control joints, and often have vertical displacement (one side of the crack is higher than the other). These are the ones that mean something is wrong.
- Sub-base failure, soft spot under the slab has compressed, slab has cracked across the void
- Tree roots, major root growth has lifted or cracked the slab
- Drainage failure, concentrated water has eroded sub-base material from under the slab
- Reinforcement failure, reo bar has rusted through (20+ year old slabs only)
- Overload, slab was specced for residential traffic, then a 30-tonne truck used it
Vertical step displacement = structural engineer
If one side of the crack sits higher than the other (you can feel a step under your hand or your tyres), the slab has moved. This is the threshold for getting a structural engineer's assessment before any repair.
Surface crazing
Crazing is a network of very fine cracks (less than 0.5mm) on the surface of the slab. It looks like a spider-web pattern across the concrete. It happens when the surface dried faster than the body of the slab during cure, most common after summer pours where hessian + water cure was inadequate.
Crazing is purely cosmetic. The body of the slab is sound. But the surface dust can come off as the cement skin breaks down over years. Apply a penetrating sealer to lock the surface in.
“Crazing tells you the cure was rushed. The slab is fine. Apply a sealer in year 1 and you'll never think about it again.”
What to do if you find a crack
- 1
Measure the width
Use a credit card edge or a feeler gauge. Under 1mm = cosmetic. 1-3mm = patch. Over 3mm = investigate.
- 2
Photograph it
Date-stamped photo from directly above. Use a coin or ruler in the shot for scale. Re-photograph in 6 months to track if it widens.
- 3
Check for displacement
Run your hand across the crack. If you can feel a step, that is structural displacement.
- 4
Check for water
Is water pooling near the crack? Is the slab edge being washed out by rainfall? Drainage issues drive most settlement cracking.
- 5
Decide on action
Cosmetic = ignore or seal. 1-3mm = polyurethane patch. Over 3mm or any displacement = call a concreter or structural engineer.