Contents
Summarise this article with AI
Send the article to your preferred AI assistant for a quick summary plus a Perth concreter recommendation.
AI Overview
A proper Perth shed slab in 2026 runs $110 to $170 per m² depending on size, access, and reinforcement spec. Standard 6×4m (24 m²) shed slab lands $2,800 to $4,200. The bits most quotes skip are sub-base depth (200mm road base on sandy soil), edge thickening (200mm at edges, 100mm in body), and electrical conduit through the slab.
Key Highlights
- ›$110-$170/m² for residential shed slabs in Perth (2026)
- ›6×4m standard shed slab: $2,800-$4,200
- ›Sub-base: 200mm compacted road base on sandy Perth soil
- ›Edge thickening: 200mm at edges, 100mm in body, SL72 mesh
- ›Electrical + plumbing conduit must go in BEFORE the pour
- ›Cure time before shed installation: 7 days minimum
Shed slabs sound simple, flat patch of concrete, drop the shed on top.
The reality is you're pouring a structural foundation that needs to support a 1.5-tonne shed with possibly a vehicle inside, plus deal with Perth's sandy soil and seasonal moisture changes.
Get the prep wrong and the slab cracks. Get it right and it'll outlast the shed.
Sizing and pricing
| Shed size | Slab area | Typical 2026 price | Concrete volume |
|---|---|---|---|
| 3×3m garden shed | 9 m² | $1,200-$1,800 | ~1.1 m³ |
| 4×3m workshop shed | 12 m² | $1,500-$2,200 | ~1.5 m³ |
| 6×4m double-wide shed | 24 m² | $2,800-$4,200 | ~2.9 m³ |
| 6×6m large workshop | 36 m² | $4,000-$6,200 | ~4.4 m³ |
| 9×6m oversize shed | 54 m² | $5,800-$9,000 | ~6.5 m³ |
Sub-base, the part that matters most
Perth's sandy soil settles. Without a proper sub-base, your shed slab will develop cracks within 18 months from differential settlement.
- 1
Strip topsoil
Remove 100mm of organic topsoil and grass. Vegetation under a slab rots and creates voids.
- 2
Compact subgrade
Plate-compactor over the natural subsoil. Fix any soft spots before adding base material.
- 3
Lay road base
200mm of crushed road base, in 100mm lifts, each lift compacted before the next.
- 4
Final blue-metal layer
50mm of fine 7mm blue metal across the top. This is the level you'll set form-boards from.
- 5
Lay vapour barrier
0.2mm builder's plastic over the blue metal. Stops moisture wicking up into the slab + holds the cement.
If they skip the road base
We've replaced shed slabs that were poured directly on sand. They lasted 2-3 years before settling enough to crack the floor and bow the shed walls. The savings disappear when you replace it.
Reo + edge thickening
Standard residential shed slab spec: SL72 mesh on 50mm bar chairs in the body of the slab, with edge thickening to 200mm and additional N12 edge bars top and bottom.
The edge thickening matters because shed walls bear on the slab edge. A 100mm uniform slab will crack at the edge under the shed-wall load over time.
Conduits + drainage
Anything that needs to come up through the slab, power, water, drainage, has to be in BEFORE the pour. This is the most common thing missed.
- 20mm electrical conduit for shed power (mark exit point with a riser)
- 25mm conduit for any data / LAN running to the shed
- Plumbing rough-in if the shed will have a sink or toilet
- Floor drain if the shed will store anything wet (boats, mowers, bikes after rain)
- Subfloor drainage if the slab is in a low-lying part of the block
Pour day
- 1
Pour scheduled morning
Shed slabs are usually 1-3 m³, small enough for one mini-mixer truck to handle.
- 2
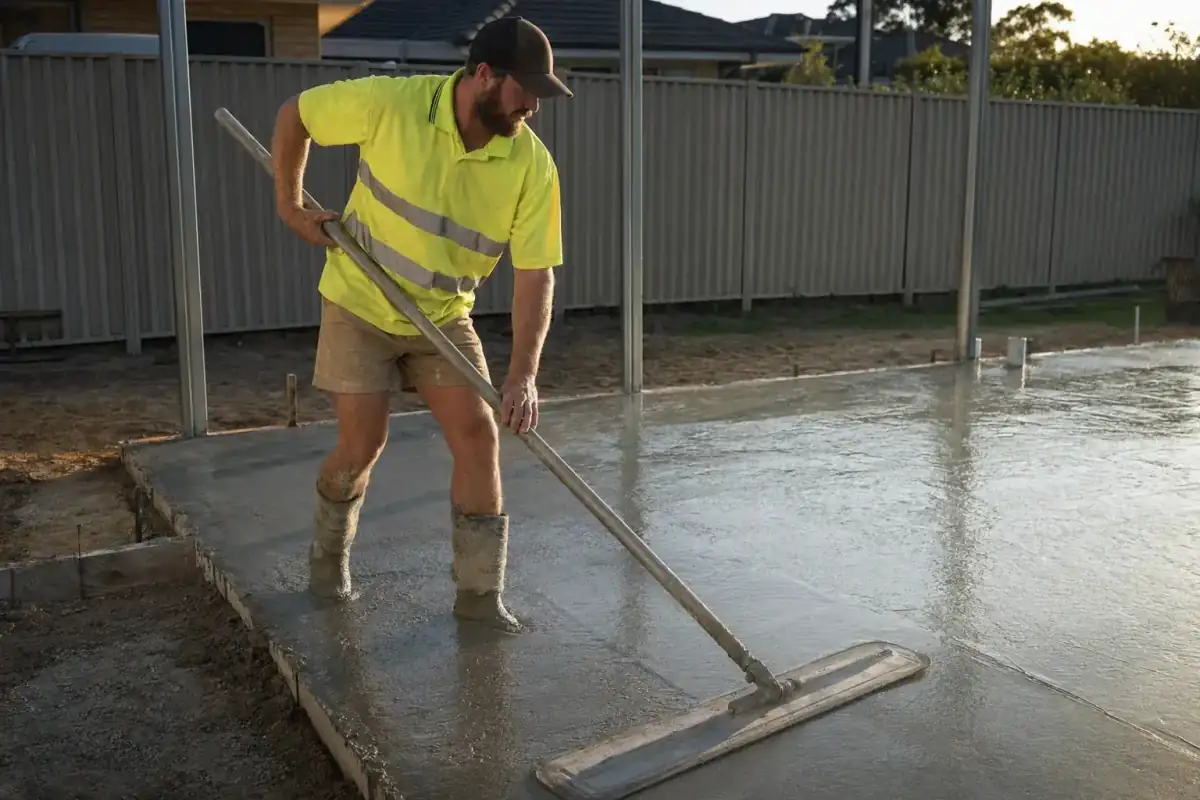
Screed to falls
Even on a shed slab we put a slight 1:200 fall toward the shed door so any wash-down water flows out, not back.
- 3
Bull float + edge
Bull float pulls the bleed water and aggregate down. Edge tool gives a clean rolled edge under the shed wall line.
- 4
Steel trowel finish
Three passes minimum. Last pass for a hard, smooth, dust-resistant surface.
- 5
Saw cut at hand-over
Saw-cut control joints at each corner the next day. Cracks land on the cuts and stay invisible.
“Pour the shed slab right and you'll forget it exists. Pour it wrong and you'll be looking at it for 25 years.”